Running a Bambu Lab P1S without internet access on UniFi
How I set up a Bambu Lab P1S without Bambu Handy, isolated it from the internet with UniFi, and kept local control through OrcaSlicer.

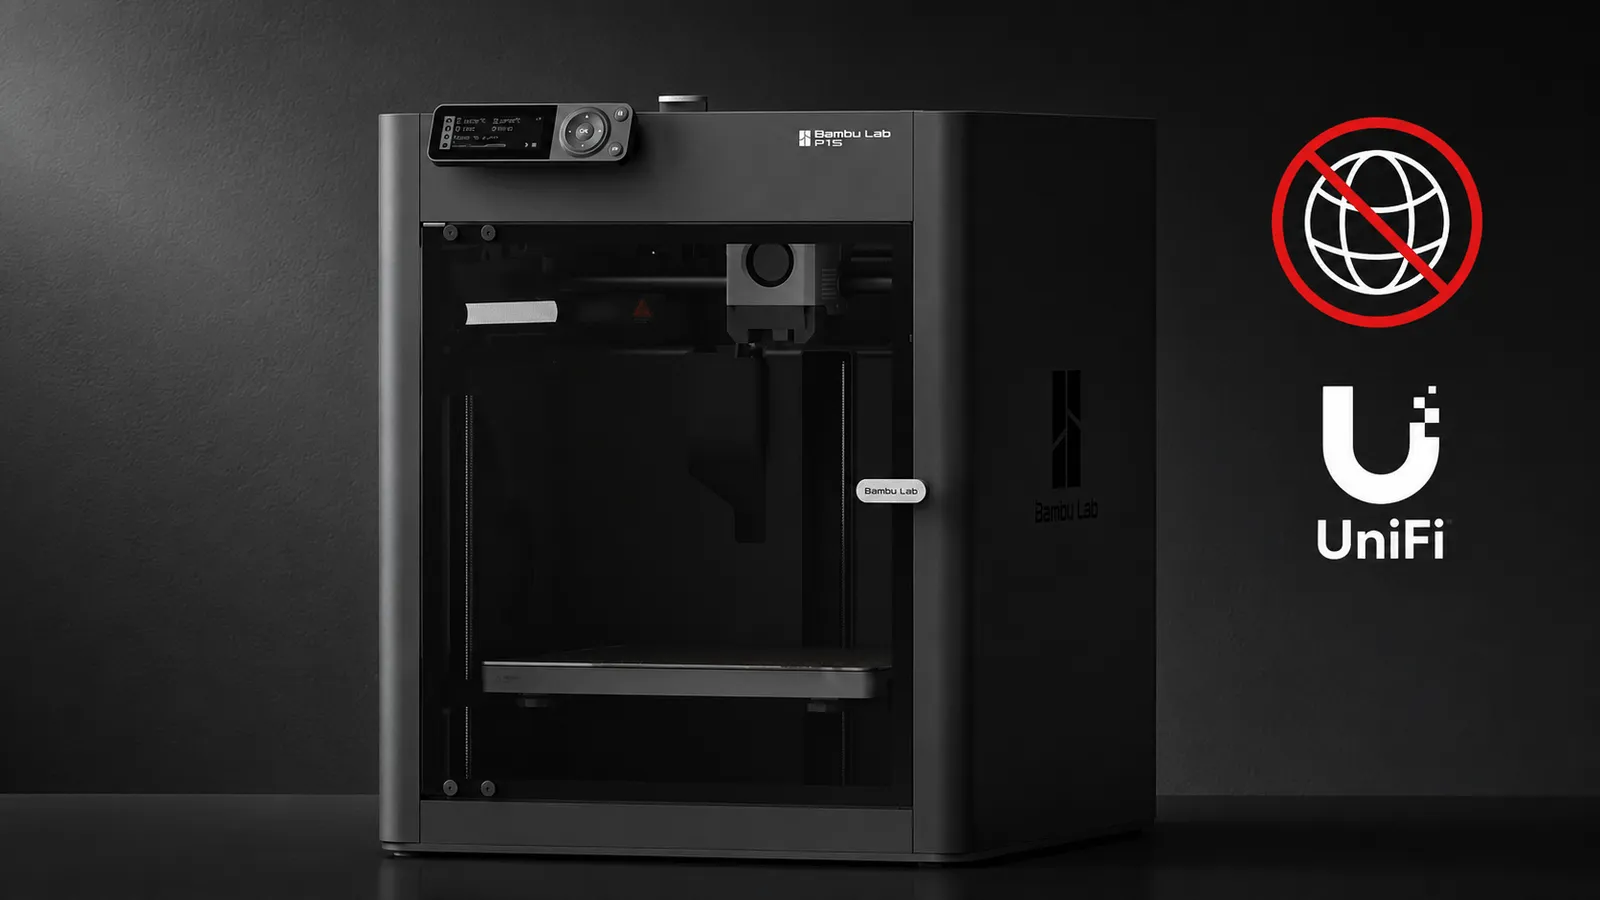
I wanted to keep using my Bambu Lab P1S through OrcaSlicer while keeping the printer off the internet and independent of Bambu’s cloud. This post documents the setup and verifies what still works.
| Connection | Result |
|---|---|
| Devices on my trusted VLAN to the printer | Allowed |
| The printer to the internet | Blocked |
| The IoT network to my trusted network | Blocked |
| Wireless clients on the same access point | Blocked |
The P1S is the device I tested, but the same network pattern can work for other Wi-Fi IoT devices that support direct local control and do not require cloud or peer-to-peer connectivity.
The quick setup
- Create an isolated UniFi network with Isolate Network enabled and Allow Internet Access disabled.
- Create a 2.4 GHz Wi-Fi network on that
VLANVirtual local area network – a logical network segment that separates traffic while using the same physical network hardware. . Enable Client Device Isolation if its devices do not need to communicate with one another. - Connect the P1S without Bambu
Handy: create a
user_wifi.cfgfile containing the new Wi-Fi credentials, copy it to the root of the microSD card, and restart the printer. - Enable LAN Only Mode on the printer and write down its IP address, access code, and serial number.
- Reserve the printer’s address in UniFi and add an allow rule from the trusted VLAN to the printer. The rule must take precedence over the isolation or deny rules.
- Bind the printer in OrcaSlicer with its fixed address, access code, serial number, and model. If the first connection fails but the details are saved, restart OrcaSlicer.
The rest of the post explains the choices, exact settings, and the parts that did not behave as expected.
Why I wanted the printer offline
I had already been using the P1S in LAN-only mode and was happy with it. I slice and send prints locally, so the printer gains little from an internet connection in my setup. Bambu Lab then announced an authorization control system that changed how third-party software could control its printers. Bambu later added an optional Developer Mode for direct local integrations, but I prefer not to let a firmware or cloud-service decision determine whether my current local workflow continues to work.
The Consumer Rights Wiki has a detailed timeline of the changes and concerns around them. This preference for locally controlled software also informs the tools and organizations I use and value.
One option was to leave the printer on my main network and block only its internet access. I chose a separate VLAN because it also prevents the printer from initiating connections to computers and other trusted devices, while leaving room for more local-only IoT devices later.
Tested versions
This configuration was tested on July 31, 2026.
| Part | Version or model |
|---|---|
| Printer | Bambu Lab P1S |
| Printer firmware | 01.06.01.00 |
| AMS Hub firmware | 00.00.00.42 |
| Gateway | UniFi Cloud Gateway Max |
| Switch and access point | UniFi Switch Lite 8 PoE and U6+ |
| UniFi Control Plane | 5.1.19 |
| UniFi Network | 10.4.57 |
| OrcaSlicer | 2.4.2, build 8500fcdc |
| Bambu network plug-in | v02.03.00.62 |
| OrcaSlicer computer | macOS Sonoma 14.7.5 |
Creating the UniFi network
My network path is UCG Max gateway to USW Lite 8 PoE switch to U6+ access point. I created a virtual network with these settings:
- Name: IoT (No Internet)
- VLAN ID: 1012
- Gateway and subnet:
10.1.12.1/24 - Zone: Internal
- Isolate Network: enabled – blocks traffic between this VLAN and my other networks
- Allow Internet Access: disabled – prevents devices on this VLAN from reaching the internet
DHCPDynamic Host Configuration Protocol – automatically assigns IP addresses and other network settings to devices. : enabled- IPv6: disabled
The VLAN and subnet numbers are only identifiers from my network. Use values that do not overlap anything already routed in yours.
Then I assigned a dedicated
- Security:
WPA2Wi-Fi Protected Access 2 – a security standard used to authenticate devices and encrypt Wi-Fi traffic. - Wi-Fi band: 2.4 GHz only
- Client Device Isolation: enabled – prevents wireless clients connected to the same access point from communicating directly with one another
- Force WiFi 4 Mode: enabled for compatibility with older IoT devices, although I did not establish that the P1S requires it
Leave Client Device Isolation disabled if your IoT devices need direct peer-to-peer communication.
Allowing trusted devices to reach the printer
Isolate Network also blocks OrcaSlicer on my trusted network. To restore that access, I added this firewall allow rule before the isolation and deny rules:
- Source: my trusted VLAN, which contains the computers running OrcaSlicer
- Destination: the printer’s fixed IP,
10.1.12.135 - Action: allow
I allow all ports from the trusted VLAN to this printer. That avoids maintaining a port list for status, control, camera, and file transfer while still preventing devices on the IoT VLAN from initiating connections to my trusted network.
The printer first received an address through DHCP. I then set that address as fixed in UniFi because both the firewall rule and OrcaSlicer refer to it directly. This also keeps it predictable after I switch the printer off through Home Assistant and a SONOFF S60 Zigbee plug.
Connecting the P1S without Bambu Handy
The P1S does not provide a practical way to type Wi-Fi credentials on its small display. I used Bambu Lab’s official microSD network configuration method instead of installing Bambu Handy.
Create user_wifi.cfg as a plain-text file:
ssid:YOUR_IOT_WIFI_NAME
password:YOUR_IOT_WIFI_PASSWORD
Copy it to the root of the microSD card, insert the card, and restart the printer. If the P1S is connected to another network, disconnect that first. The printer reads the file during startup.
The file contains the Wi-Fi password in plain text. After the printer connects,
delete user_wifi.cfg from the microSD card. Restart the printer without the
file and confirm that it reconnects using the saved credentials. I then enabled
LAN Only Mode and recorded the IP address, access code, and serial number
shown in its menus.
Adding the printer to OrcaSlicer
OrcaSlicer did not discover the printer automatically. I did not determine whether my firewall or the VLAN boundary stopped discovery traffic, because direct binding already solved it. From the Device tab I selected Bind with Access Code, then entered the fixed IP and access code.
OrcaSlicer then asked for a local printer name, the serial number from the printer’s identification screen, and its model.
The first attempt failed without an explanation. After restarting OrcaSlicer, it kept the saved details and connected automatically. I did not find the cause, so this is a workaround rather than a diagnosis.
Status, controls, the camera, file transfer, and starting a print all worked.
Verifying the isolation
I temporarily connected another computer to the IoT SSID and tested the
boundaries. duckduckgo.com resolved through local DNS but returned no ping
replies; the same address replied from my trusted network.
The IoT client also failed to reach a trusted computer after I temporarily disabled that computer’s software firewall. It could not reach the P1S on the same Wi-Fi network either, confirming Client Device Isolation works.
A failed ping only confirms that
Show the verification screenshots3 images
The result and trade-offs
My normal printing workflow now runs entirely on my local network. While the printer remains offline, a cloud outage or remote authorization change cannot interrupt it, and firmware changes matter only if I choose to install an update.
The trade-off is losing Bambu cloud access, Bambu Handy, Bambu’s remote access, cloud print history, and online firmware updates. None of these were part of my workflow, so the change had little practical cost for me.
I plan to try Bambuddy, a self-hosted web interface for managing and automating Bambu printers locally. To reach it from my phone while away from home, I would connect through my own WireGuard VPN. For now, OrcaSlicer covers the local workflow I need.
- #unifi
- #bambu-lab
- #orcaslicer
- #vlan
- #iot
- #networking
I used an AI assistant to help turn my notes into this post. I reviewed the final text and remain responsible for any errors.